
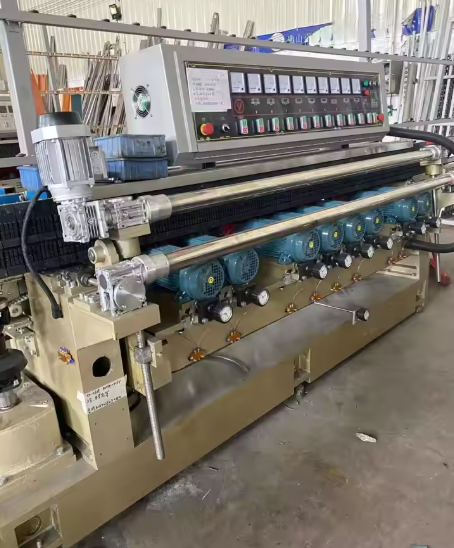
Getting the Heat Right for Glass Silk-Screening
If you’ve ever tried to combine silk-screening and tempering in one go, you know the headache. You’re basically fighting a war with heat. You need it hot enough to cure the ink and get rid of internal stress, but if you push it too far? Your patterns bleed and your glass warps. It’s a tightrope walk. That’s why we lean on short-wave infrared (IR) lamps. They’re the secret to hitting that sweet spot. The battle for clean lines The trick is to heat the ink and the surface fast, without letting that heat soak deep into the glass too quickly. Short-wave IR is great for this. It hits the surface hard, triggering the curing reaction and starting the annealing process almost instantly. But here’s the thing: you have to watch your settings. If your wattage is cranked too high or your conveyor is crawling, those crisp ink edges start to blur. We calibrate the power density so the surface hits the curing point before the rest of the glass gets hot enough to make the pattern migrate. The gear that makes it happen We usually go with quartz halogen tubes. They can handle the high current needed to ramp up the temperature in a heartbeat. One detail a lot of people miss? The lamp length. It has to match the width of your glass sheets perfectly. If it doesn’t, you get “cold edges.” That sounds minor, but it creates uneven stress, and that’s how you end up with glass that snaps during the cooling phase. The trade-off High-intensity lamps give you the speed you need to keep the line moving. But that intensity is tough on your reflectors. If your reflectors get dirty or slip out of alignment, you’ll get hot spots. These are basically invisible landmines. They create localized stress points that show up as weird optical distortions—or worse, the glass just spontaneously shatters after it’s already left the line. It’s all about the balance. You need the raw power of the lamp, but you’ve got to pair it with a dialed-in cooling zone to lock in that strength without shocking the material.