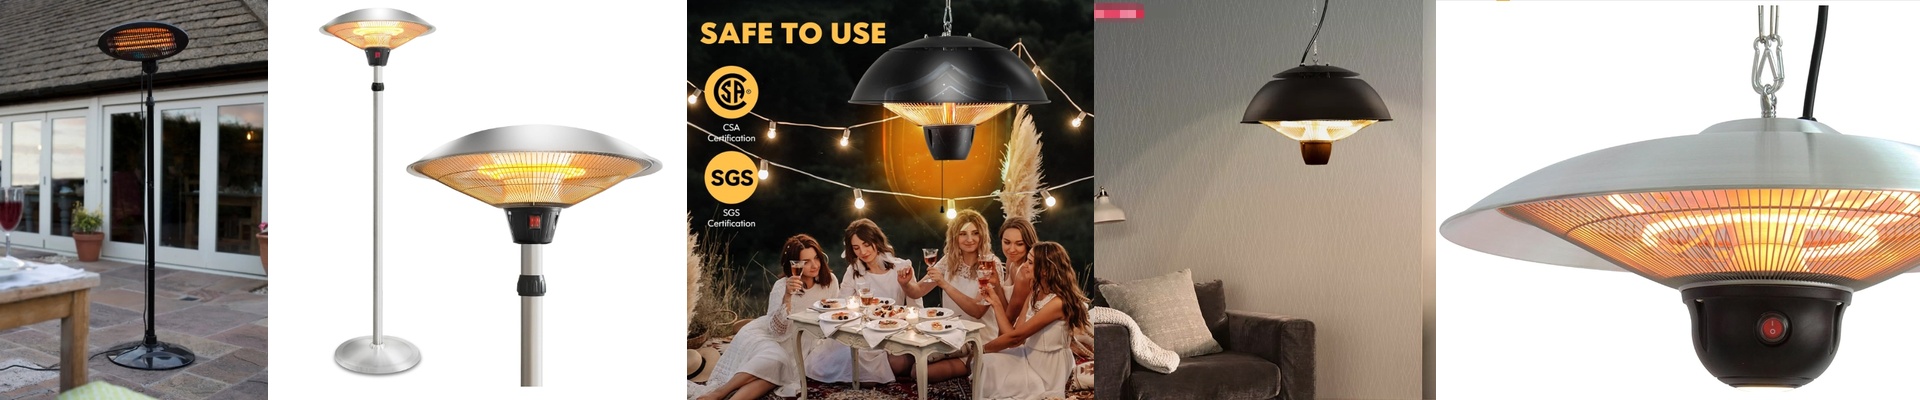




Keeping Your Bathroom Infrared Heaters Safe (And Your Ceiling Intact)
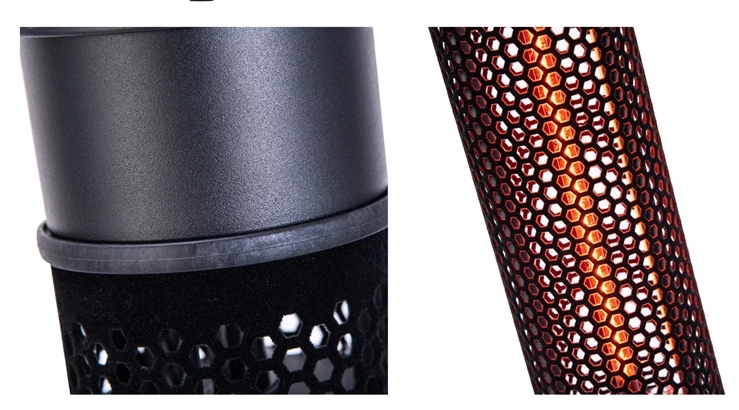
Let’s be real: putting an infrared heater in a bathroom is a bit of a gamble if you aren’t careful. You’ve got constant steam, dripping water, and electricity all hanging out in the same small space. Since water and electricity are a nightmare pairing, a tiny leak or a failed piece of insulation can lead to a short circuit—or worse. To keep things safe, we focus on three main layers of protection. Stopping the Spark First, we look at the housing. The heating element itself sits in a quartz envelope, but the real magic happens at the mounting brackets. We use ceramic insulators at the lamp terminals. Why? Because we don’t want the current jumping from the filament pins into your metal ceiling frame. That’s a shortcut nobody wants. Fighting the Fog Standard wiring just doesn’t make the cut here. Steam is sneaky; it gets everywhere. That’s why we use junction boxes with silicone gaskets to seal everything tight. If vapor leaks into the housing, it creates a path for electricity to travel where it shouldn’t. By sticking to IP44 rated enclosures (or higher), we make sure splashes and steam stay on the outside, far away from the live terminals. The Safety Net Even with the best insulation, you still need a backup plan. We always wire these units with a dedicated ground and a metal shield. Think of it as an insurance policy. If a wire frays or a part burns out, the current hits the ground and trips the GFCI immediately. It’s way better for the power to just click off than to have your ceiling become energized. The Catch Here’s the trade-off: all this heavy-duty protection takes up space. Those moisture-proof boxes are bulkier than the cheap stuff, so you’ll lose a bit of room in your ceiling. It feels like a pain at first, but it’s worth it. Without that extra bulk, the humidity would chew through your wiring in a couple of seasons, and you’d be right back where you started.