Why Most Pergola Heaters Die (And How We Fixed Ours)
If you’ve ever put a standard infrared heater under an outdoor pergola, you probably know the story. One humid evening or a bit of unexpected drizzle, and suddenly the thing just… stops. It usually happens because moisture sneaks into the electrical contacts. Once that happens, you’re looking at a short circuit or a burnt-out filament. It’s frustrating, and frankly, it’s a waste of money. We decided to build something that actually survives the outdoors.
Dealing with the Damp
The biggest problem is usually the gap where the quartz tube meets the housing. That’s where the water gets in. We stopped that by using high-temp silicone gaskets and sealing the cabling tight. Then there’s “fogging.” You know that misty film that builds up on glass? That’s just micro-condensation. If those tiny droplets sit on the emitter, they create hotspots that can actually crack the quartz. To fix this, we tweaked the thermal layout so the glass stays just warm enough to keep the dew point at bay. No fog, no cracks.
Built to Last
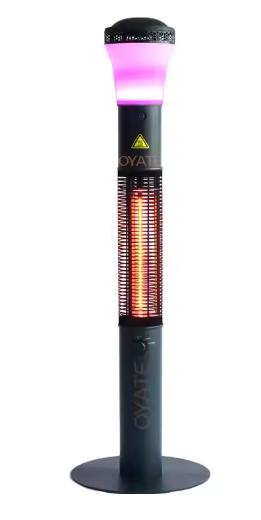
We went with a sealed-beam design. Instead of just a bare lamp, the emitter is tucked into a weather-shielded chassis. It takes the unit from “indoor-only” to “rain and wind ready.” We also routed the wiring through reinforced conduits. Why? Because wind vibrates things. Over time, that shaking can wiggle connections loose. This keeps everything locked down. One quick tip: check your circuit breaker. These high-wattage lamps pull a massive amount of power the second you flip the switch. If your wiring is too thin, you’ll be walking back to the breaker box every time you want to get warm.
The Trade-off
Here’s the honest part. Making a heater waterproof means it can’t be tiny. Our units are a bit bulkier and heavier than a bare-lamp setup. You lose a little bit of that “invisible” look. But in our experience, it’s a fair trade. I’d rather have a slightly larger heater that works for years than a sleek one that dies after its first winter.